
Red and gold nail art is the perfect way to add festive charm to your Christmas season, bringing together two classic holiday colors that never go out of style. Whether you’re looking for simple red and gold Christmas nails or more detailed holiday nail designs, this guide will help you create salon-quality looks right at home. Below, you’ll find 10 easy red and gold Christmas nail designs, each paired with a custom image prompt, step-by-step instructions, and a full list of tools to help you recreate these stunning styles effortlessly. From glitter gradients to elegant gold foil details, these Christmas nail ideas are beginner-friendly, budget-friendly, and guaranteed to elevate your holiday look.
✨ 1. Classic Red Nails with Gold Snowflakes

Tools Needed
- Red nail polish – choose a highly pigmented shade for a bold Christmas base.
- Gold nail polish – metallic or glitter gold works best for festive accents.
- Thin detail brush – ideal for creating precise lines, snowflakes, and small decorative elements.
- Dotting tool – helps you add perfect dots, mini ornaments, or star details.
- Top coat – a glossy, long-lasting top coat to protect your design and enhance shine.
- Optional: Gold foil or glitter – for extra sparkle if you want a more dramatic holiday look.
- Optional: Nail primer or base coat – to prevent staining and help your design last longer.
Steps
- Start by applying a base coat to protect your natural nails and create a smooth surface for the red polish.
- Apply two even coats of red nail polish, allowing each layer to dry completely for a rich and opaque finish.
- Use a thin detail brush dipped in gold polish to paint delicate snowflakes, lines, or festive patterns on one or more nails.
- Add extra accents using a dotting tool, creating small gold dots around the snowflakes or on the remaining nails for balance.
- Optional: Add a touch of gold glitter or foil to the tips or corners of the nails for a more glamorous Christmas effect.
- Finish with a glossy top coat to seal the design, prevent chipping, and give your red and gold Christmas nails a smooth, professional shine.
Table of Contents
✨ 2. Red Almond Nails with Gold Foil Tips
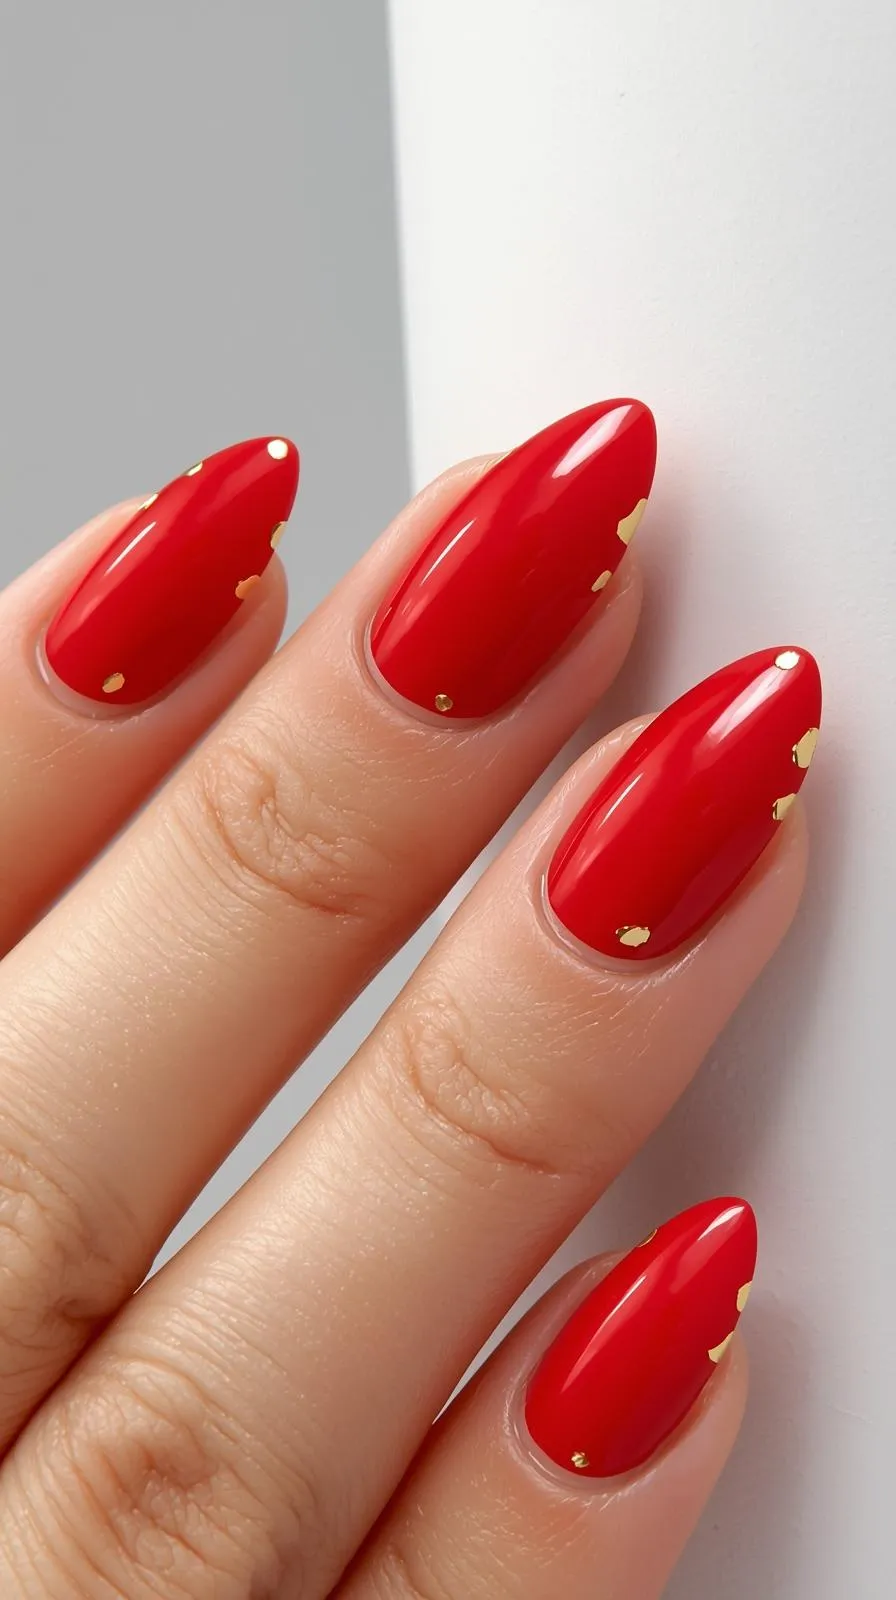
Tools Needed
- Red polish
- Gold foil
- Foil glue
- Silicone tool
- Top coat
Steps
- Paint nails red.
- Apply foil glue to the tips.
- Press gold foil onto the tips.
- Finish with top coat.
✨ 3. Matte Red with Shiny Gold Lines

Tools Needed
- Matte red nail polish – the perfect base for a sophisticated Christmas Nail look with a smooth, velvety finish.
- Gold striping tape or gold gel polish – ideal for creating clean, geometric holiday lines that stand out beautifully.
- Striping brush – allows you to paint thin, precise gold accents for an elegant Christmas Nail design.
- Top coat – essential for sealing the gold details and adding durability without removing the matte effect.
Steps
- Apply a smooth layer of matte red polish to create the base of your Christmas Nail design. Allow it to dry completely so the matte finish stays flawless.
- Use a striping brush or apply gold striping tape to create thin, clean gold lines across the nails. These metallic accents add a modern, festive touch to your Christmas Nail look.
- Finish by applying top coat only on the gold lines, keeping the rest of the nail matte. This contrast adds depth and makes the holiday design stand out even more.
✨ 4. Red Glitter Nails with Gold Stars
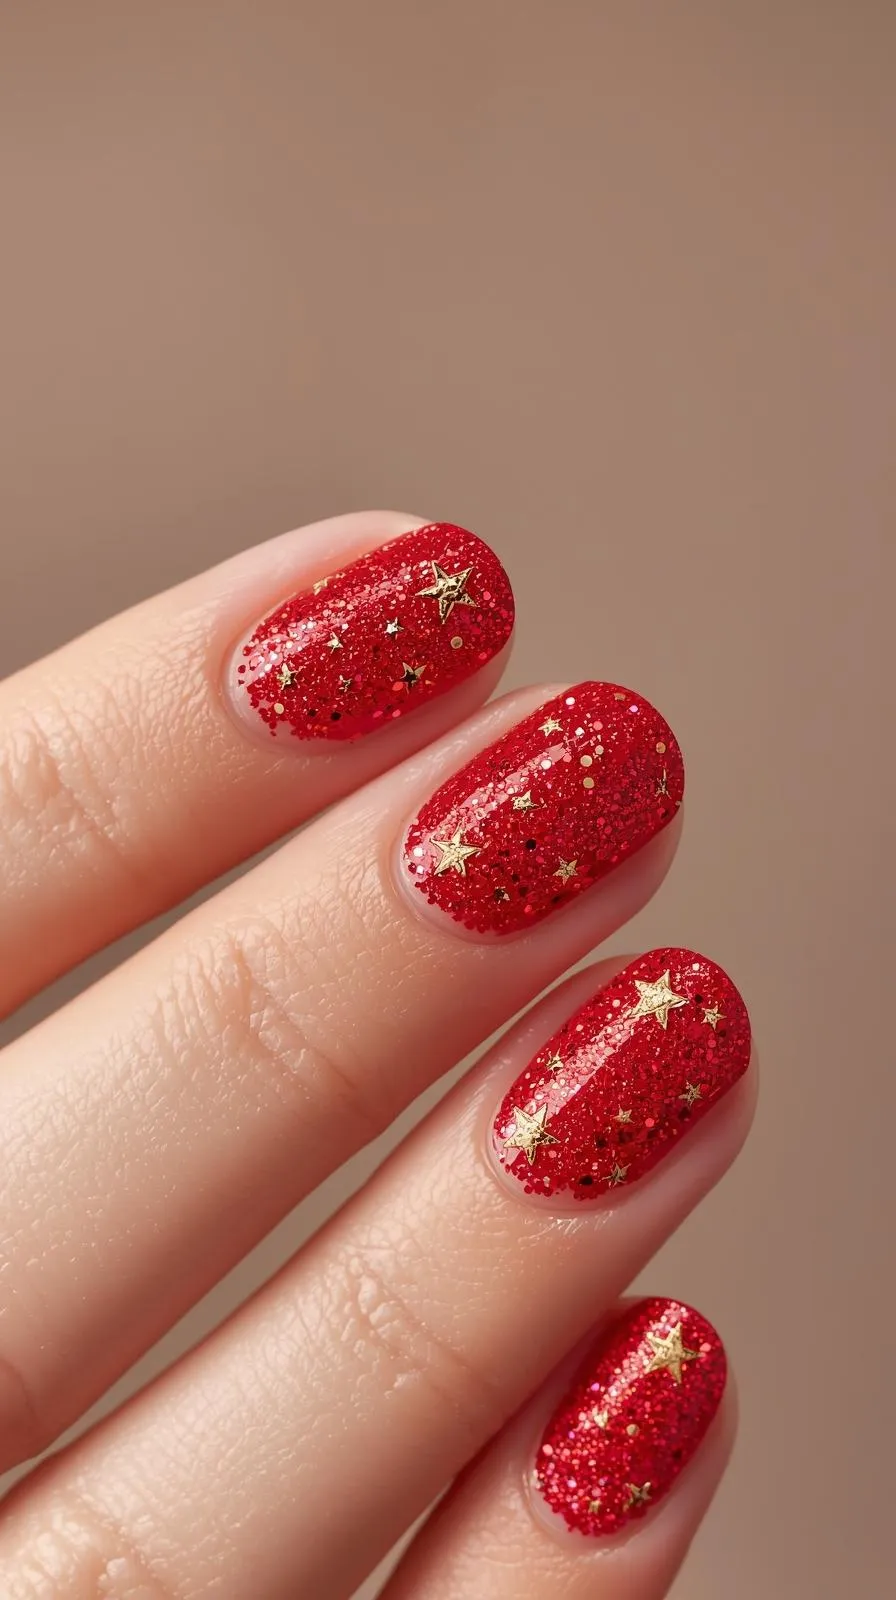
Tools Needed
- Red glitter polish
- Gold star decals
- Tweezers
- Top coat
Steps
- Apply red glitter polish.
- Place gold star decals using tweezers.
- Press lightly.
- Apply top coat.
✨ 5. Candy Cane Red with Gold Accent Nail
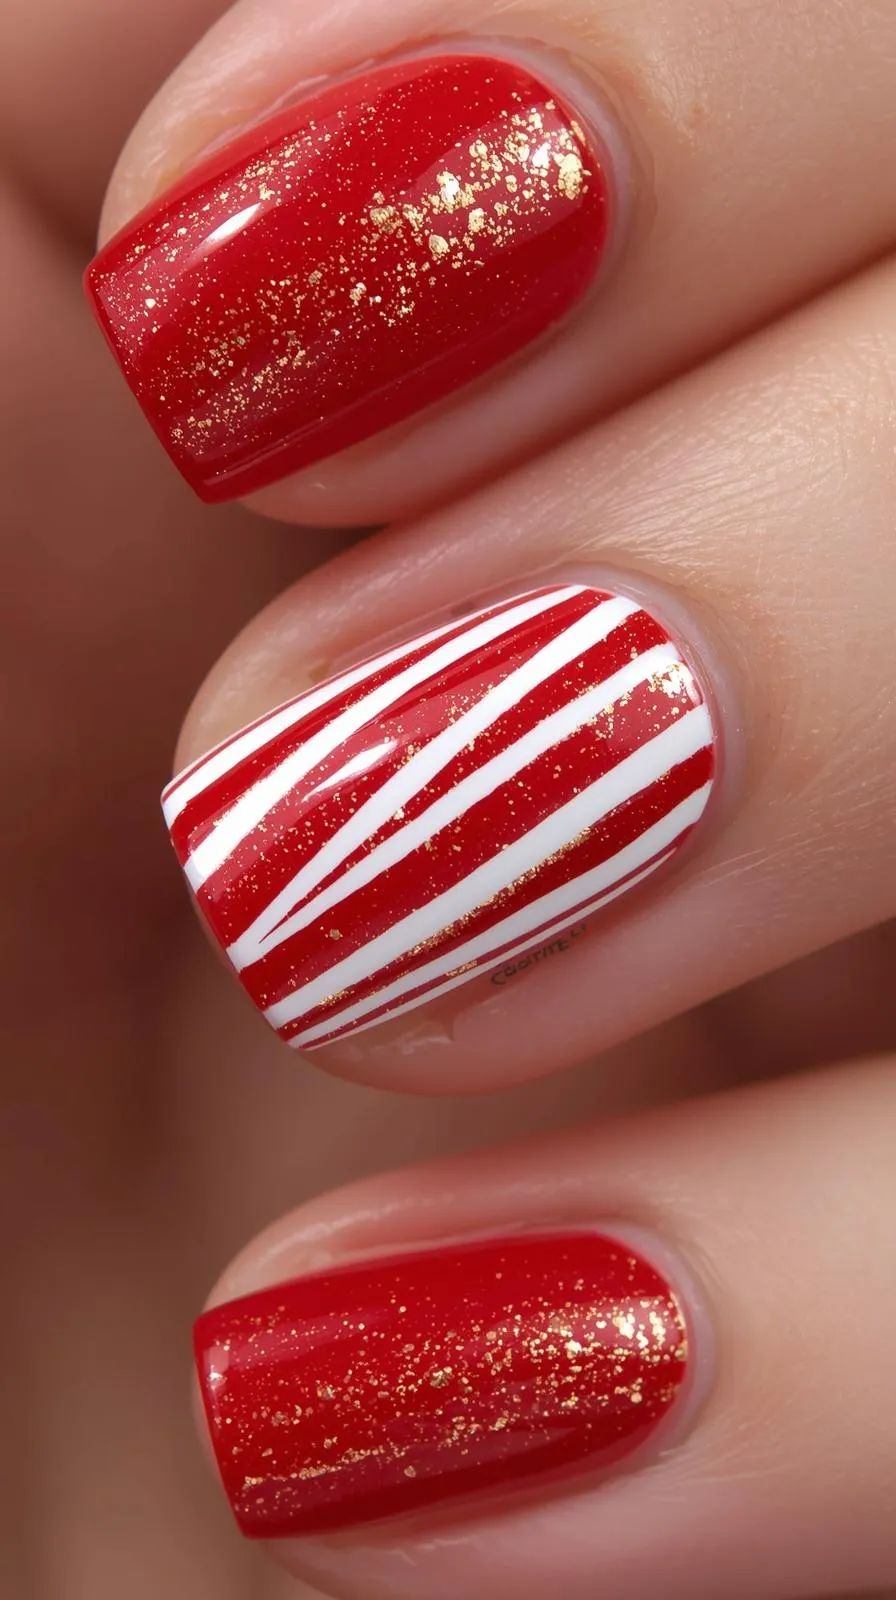
Tools Needed
- Red, white, and gold polish
- Striping brush
- Dotting tool
- Top coat
Steps
- Paint candy cane stripes using a striping brush.
- Paint the accent nail gold.
- Add small red or white dots.
- Seal with top coat.
✨ 6. Red Chrome Nails with Gold Outline
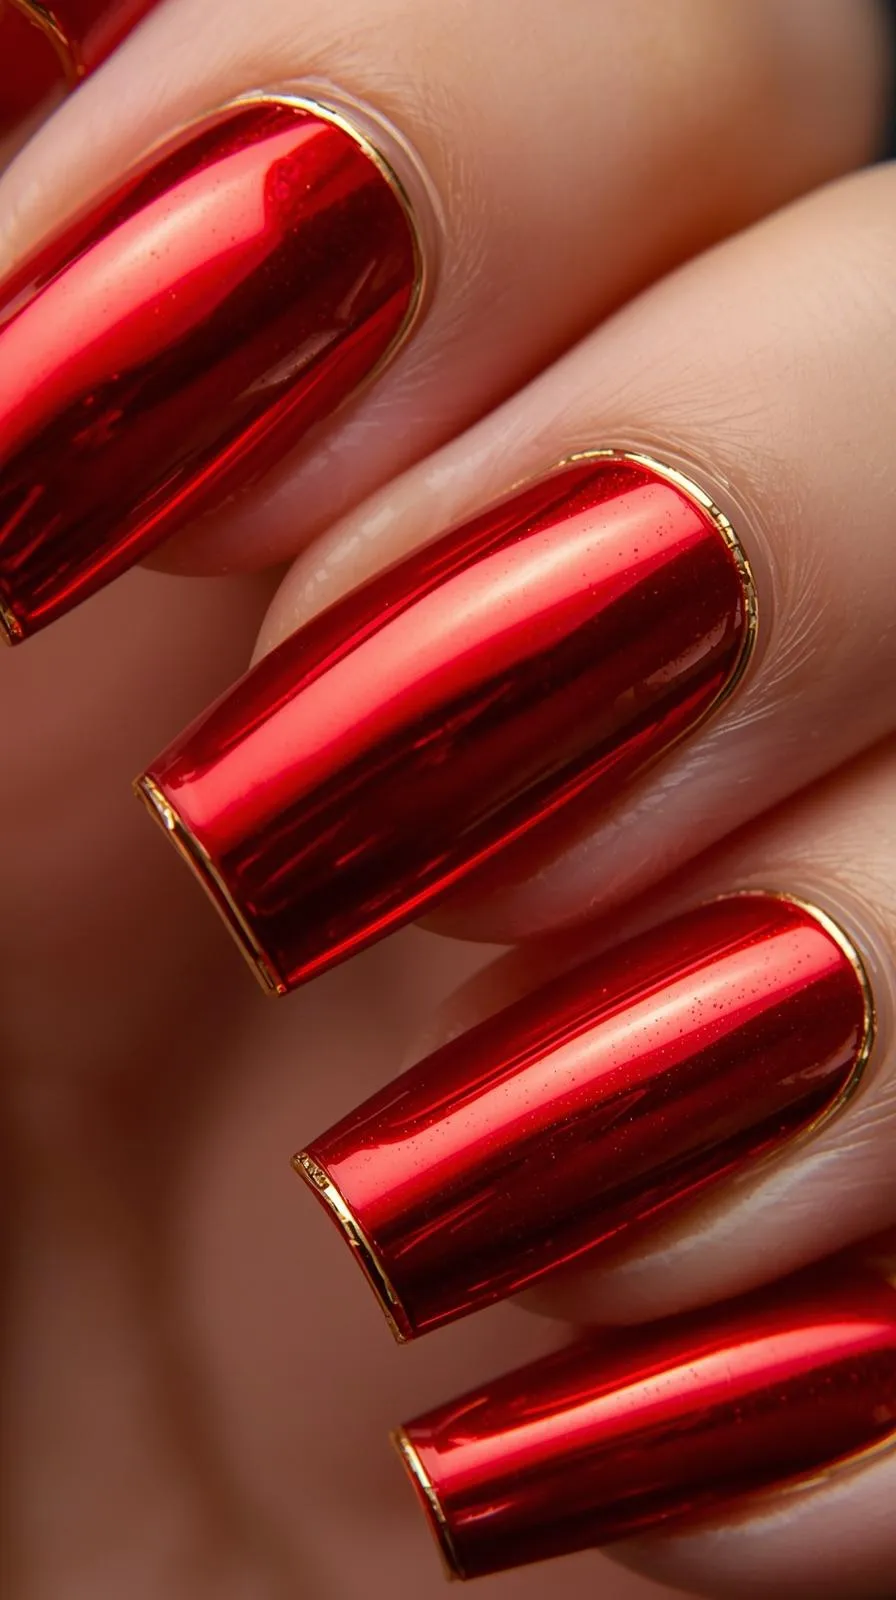
Tools Needed
- Red chrome powder
- Gold gel paint
- Thin liner brush
- Top coat
Steps
- Apply a red chrome base.
- Outline the nail edges in gold.
- Cure and apply top coat.
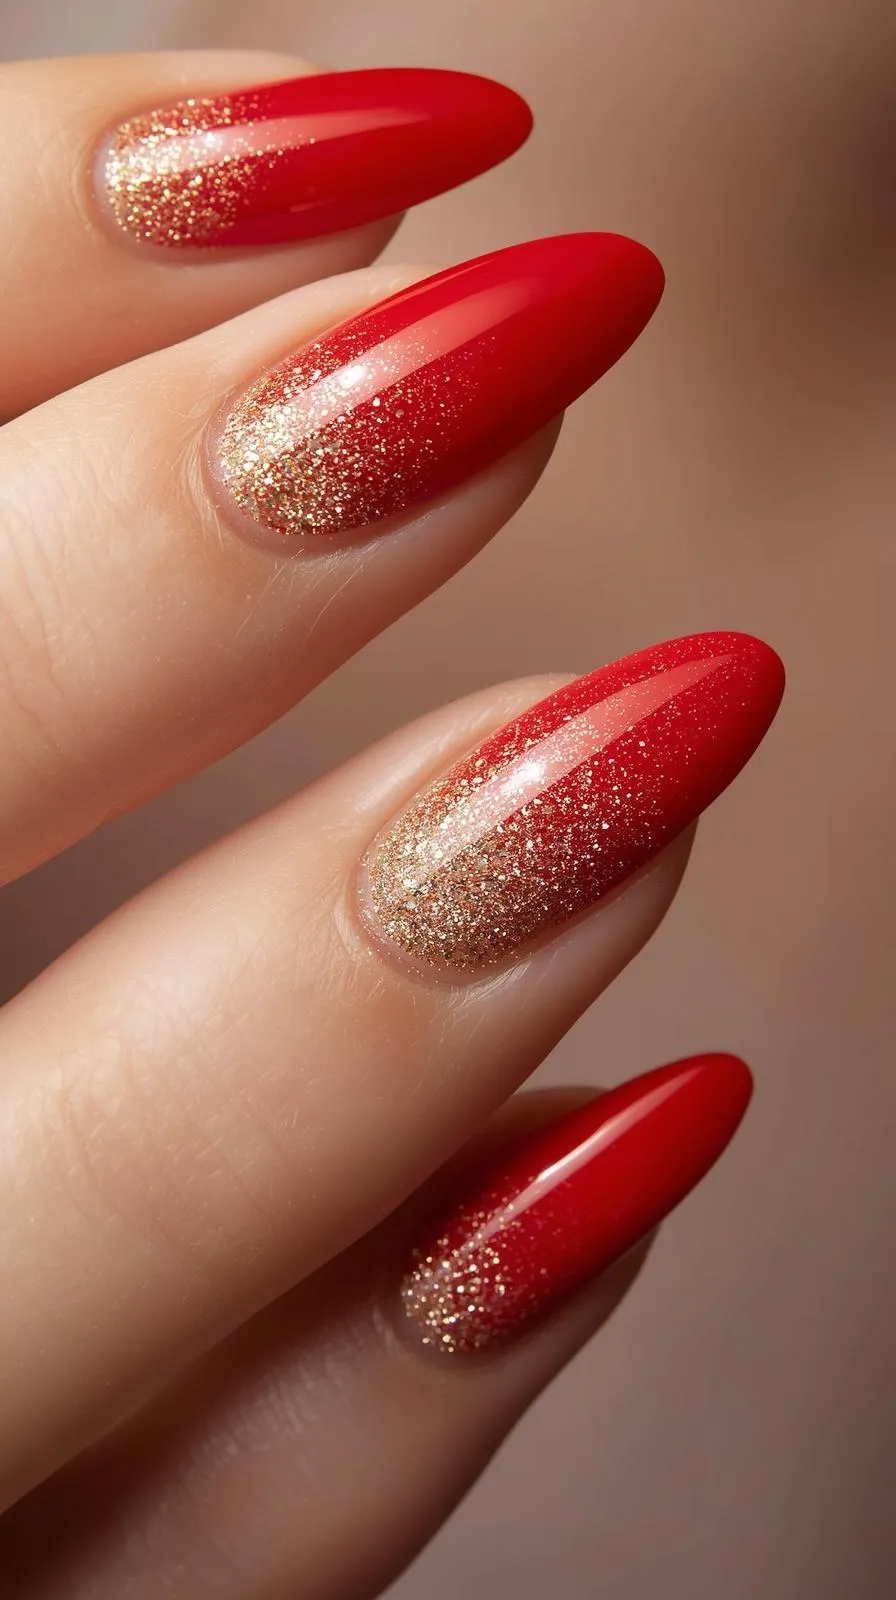
✨ 7. Red French Tips with Gold Glitter Fade
Tools Needed
- Nude nail polish – provides a clean, elegant base that makes Christmas nail designs look soft and modern.
- Red polish – perfect for creating bold, festive French tips that stand out beautifully.
- Fine gold glitter – adds a sparkling holiday touch and enhances the Christmas nail aesthetic.
- Makeup sponge – helps apply the gold glitter in a smooth, diffused gradient near the cuticle.
- Top coat – essential to lock in the design, smooth the glitter, and give your Christmas nails a glossy, long-lasting finish.
Steps
- Apply a nude base coat and let it dry completely. This soft background enhances the elegance of your Christmas nail design.
- Paint red French tips across all nails, keeping the line clean and even for a classic holiday look.
- Use a sponge to dab fine gold glitter near the cuticle, blending it gently upward to create a subtle, glowing gradient. This adds a festive sparkle without overwhelming the design.
- Finish with a glossy top coat to seal the colors, smooth the glitter, and protect your Christmas nails from chipping.
✨ 8. Deep Red Nails with Gold Leaf Accents

Tools Needed
- Deep red polish
- Gold leaf sheets
- Tweezers
- Top coat
Steps
- Apply deep red polish.
- Press gold leaf pieces onto accent nails.
- Smooth edges gently.
- Apply top coat.
✨ 9. Gold Chrome Nails with Red Snowflake Accent
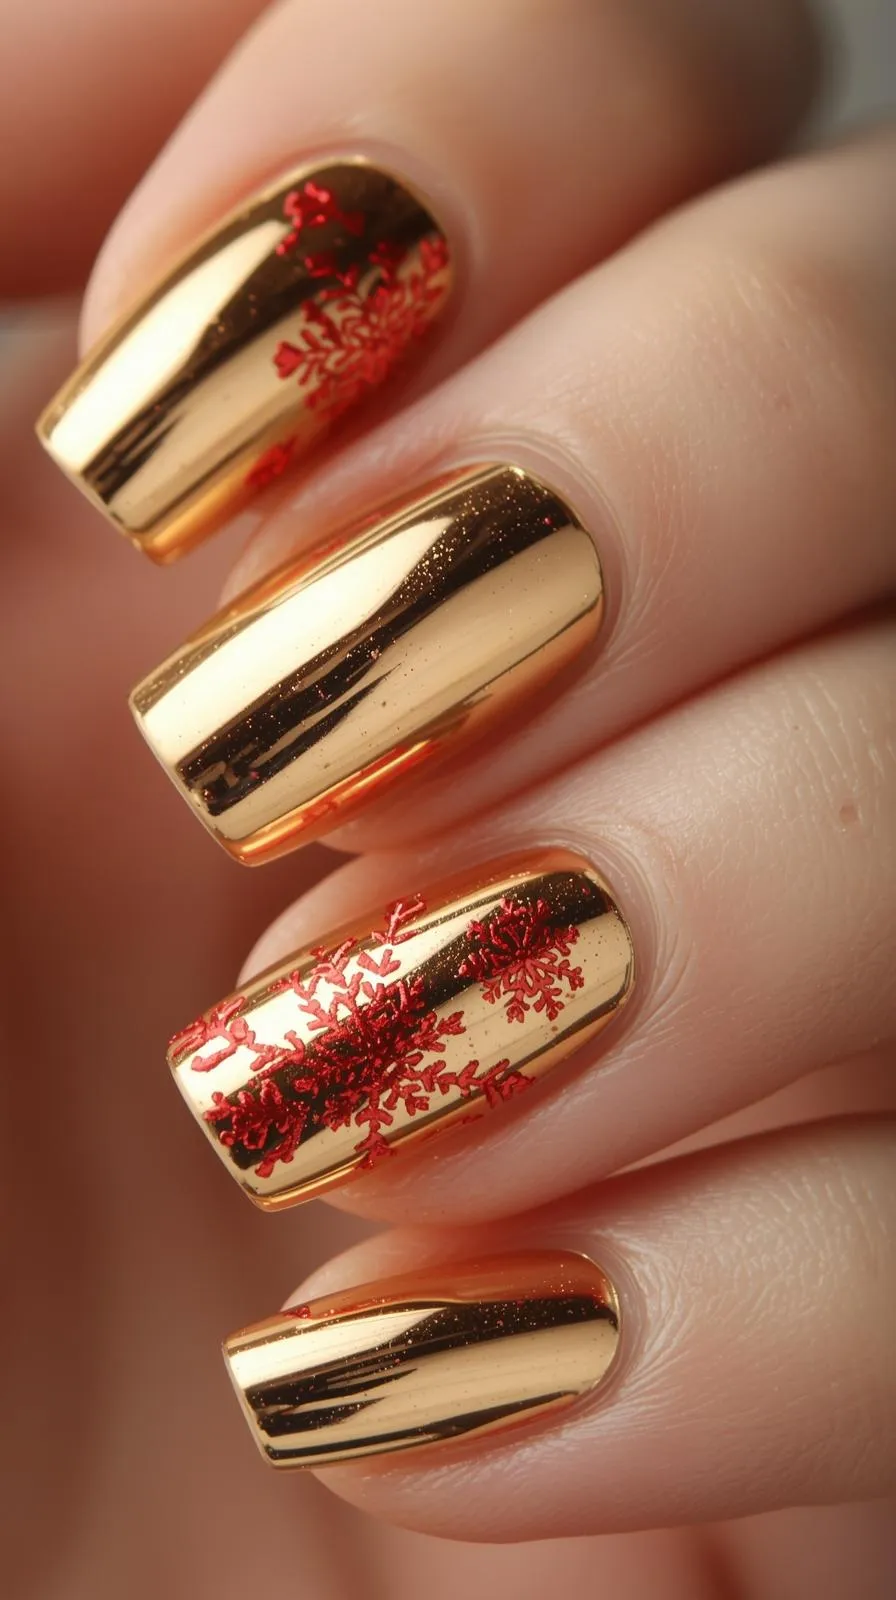
Tools Needed
- Gold chrome powder
- Red gel paint
- Snowflake stamp or brush
- Top coat
Steps
- Apply gold chrome powder.
- Paint a red snowflake on one nail.
- Cure and seal with top coat.
✨ 10. Matte Red Velvet Nails with Gold Rhinestones
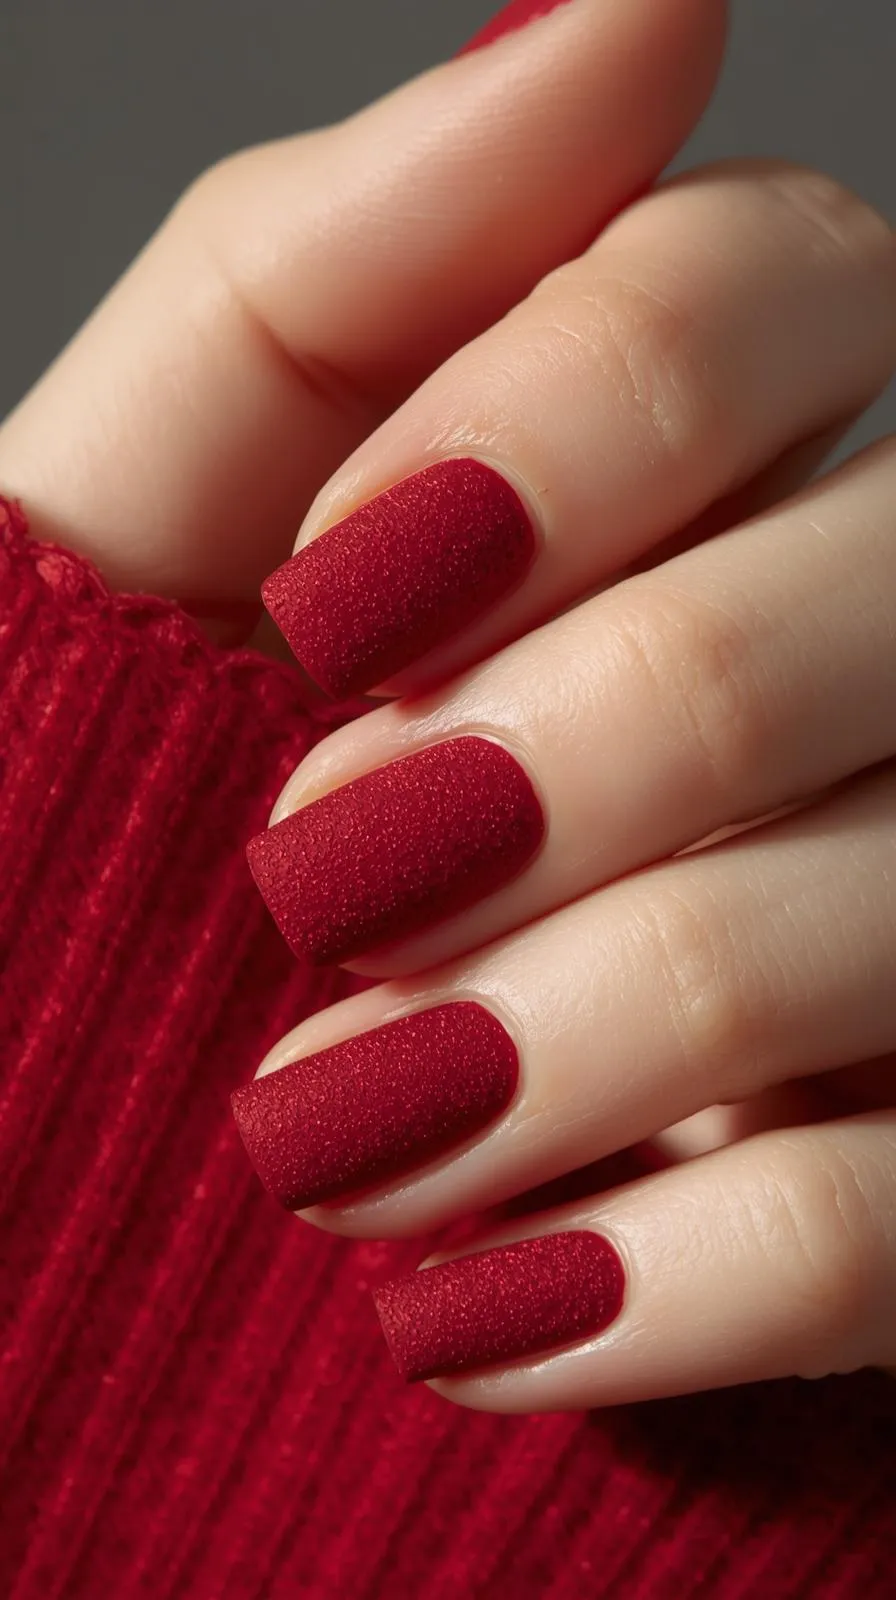
Tools Needed
- Matte red polish
- Gold rhinestones
- Nail glue
- Tweezers
- Top coat (around rhinestones only)
Steps
- Apply matte red polish.
- Place rhinestones with tweezers.
- Secure with nail glue.
- Apply top coat around stones.